The Beginner Sewist - The perfect skirt for a beginner
- Jul 2, 2021
- 2 min read
Updated: Apr 18, 2023
It was a quiet Friday afternoon and the kids had saved hard to buy a new lego kit...it would keep them busy for hours. So what was I to do? Sure there was plenty of work I could have done, but quiet hours don't come often for this working, homeschooling mother, so instead the fabric came out and I got to work....

I was actually gifted this fabric from Lindsey. You may remember her posting these photo a few weeks back...


Well she used this #adairs quilt cover to make her Sycamore Lane Dress Hack, then gave me the leftover material. I had a big piece of the material left but what to do? I started wrapping it around me and presto it was destined to be a skirt!
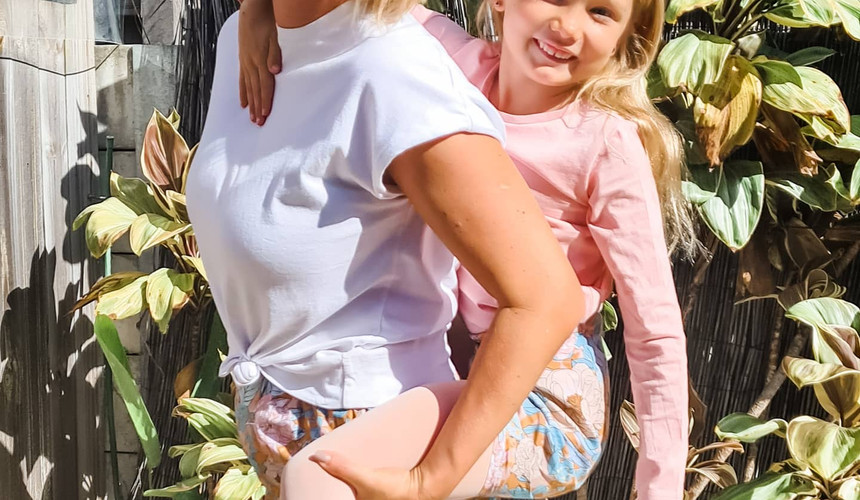
I got my mat and rotary cutter out and cut the fabric into a big rectangle so that it would fit as a midi skirt. I did however cut it just a little too narrow!!!! What to do??? Well the seams ended up being a little narrower than I planned and I added a side split on one side to allow for a little extra movement, and I love it! And you know what from first picking up the fabric to finishing was only about an hour!!! Definitely my quickest make to date. In fact it was so quick and the kids were being so quiet I decided to make another right there and then. Now Kaia and I have a same-same but different set!
(Side note: Except for these photos, she is NOT allowed to wear hers if I have mine on 😁)
Here's what I did and lots more photos....
I decided between a mini, midi and maxi skirt - opting for the midi this make. Don't forget to add enough on each end for the hem and to turn over the top to create a 'tunnel' for the elastic
Cut my fabric to length and then worked out my waist measurement (I was feeling overly optimistic about this on the day and cut too narrow! Don't make that mistake).
Sew up the seam - how good is having just one seam!?!
Worked out my elastic measurement by taking my waist measurement and reducing it by 2"
I turned over the top of the skirt, ironed it, turned it again and then sew it closed, leaving enough of a gap to insert the elastic
I used a safety pin to feed through the elastic
Overlap the elastic at the opening and sew this together. I like to zigzag and straight stitch it, just to make sure it isn't going anywhere.
Once the elastic is inside, sew closed the gap
Try it on and check its all good
Hem it
Done
Now it's time to put it on, take a photo and post to the socials with #sewtogrow and #beginnerskirt so we can all celebrate your make!


Let me know below what you think and whether you are planning on making one too...


Comments